What Are Neutral Strategies?
Neutral strategies are options positions designed to profit when the underlying asset stays within a range or does not move significantly. These strategies are often used when you expect low volatility or believe the market will trade sideways. They typically involve selling premium and benefit from time decay.
Ainvest's Strategy Builder offers six neutral templates, ranging from high-risk unlimited-loss positions to defined-risk structures suitable for more conservative traders.
Where to Find Them
- Web only: Navigate to the Option Ticker Page or the general ticker options tab, select the Strategy Builder tab, then click the Neutral tab.
- The Strategy Builder is not available on mobile.
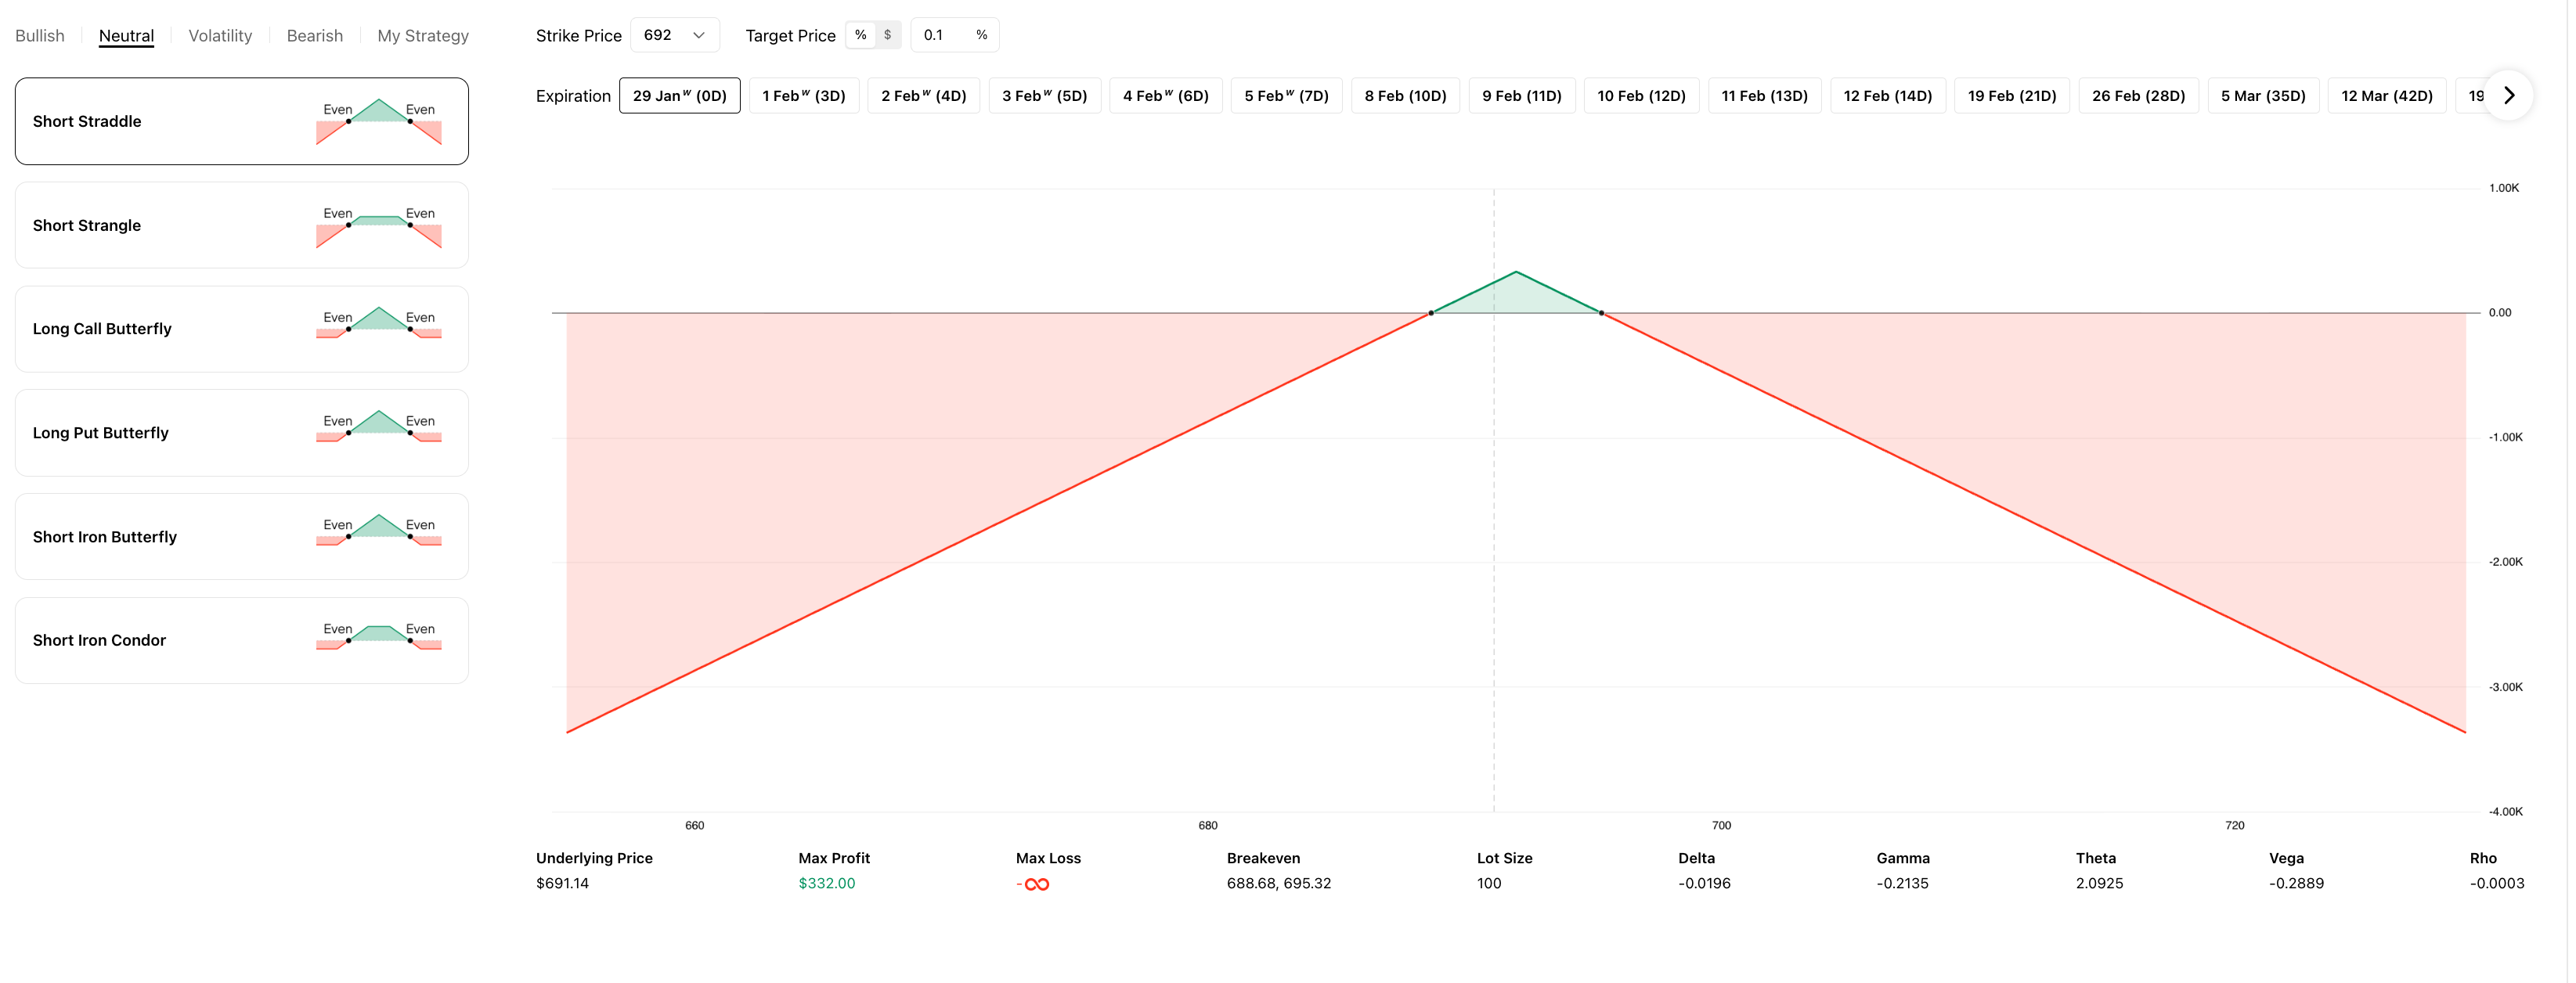
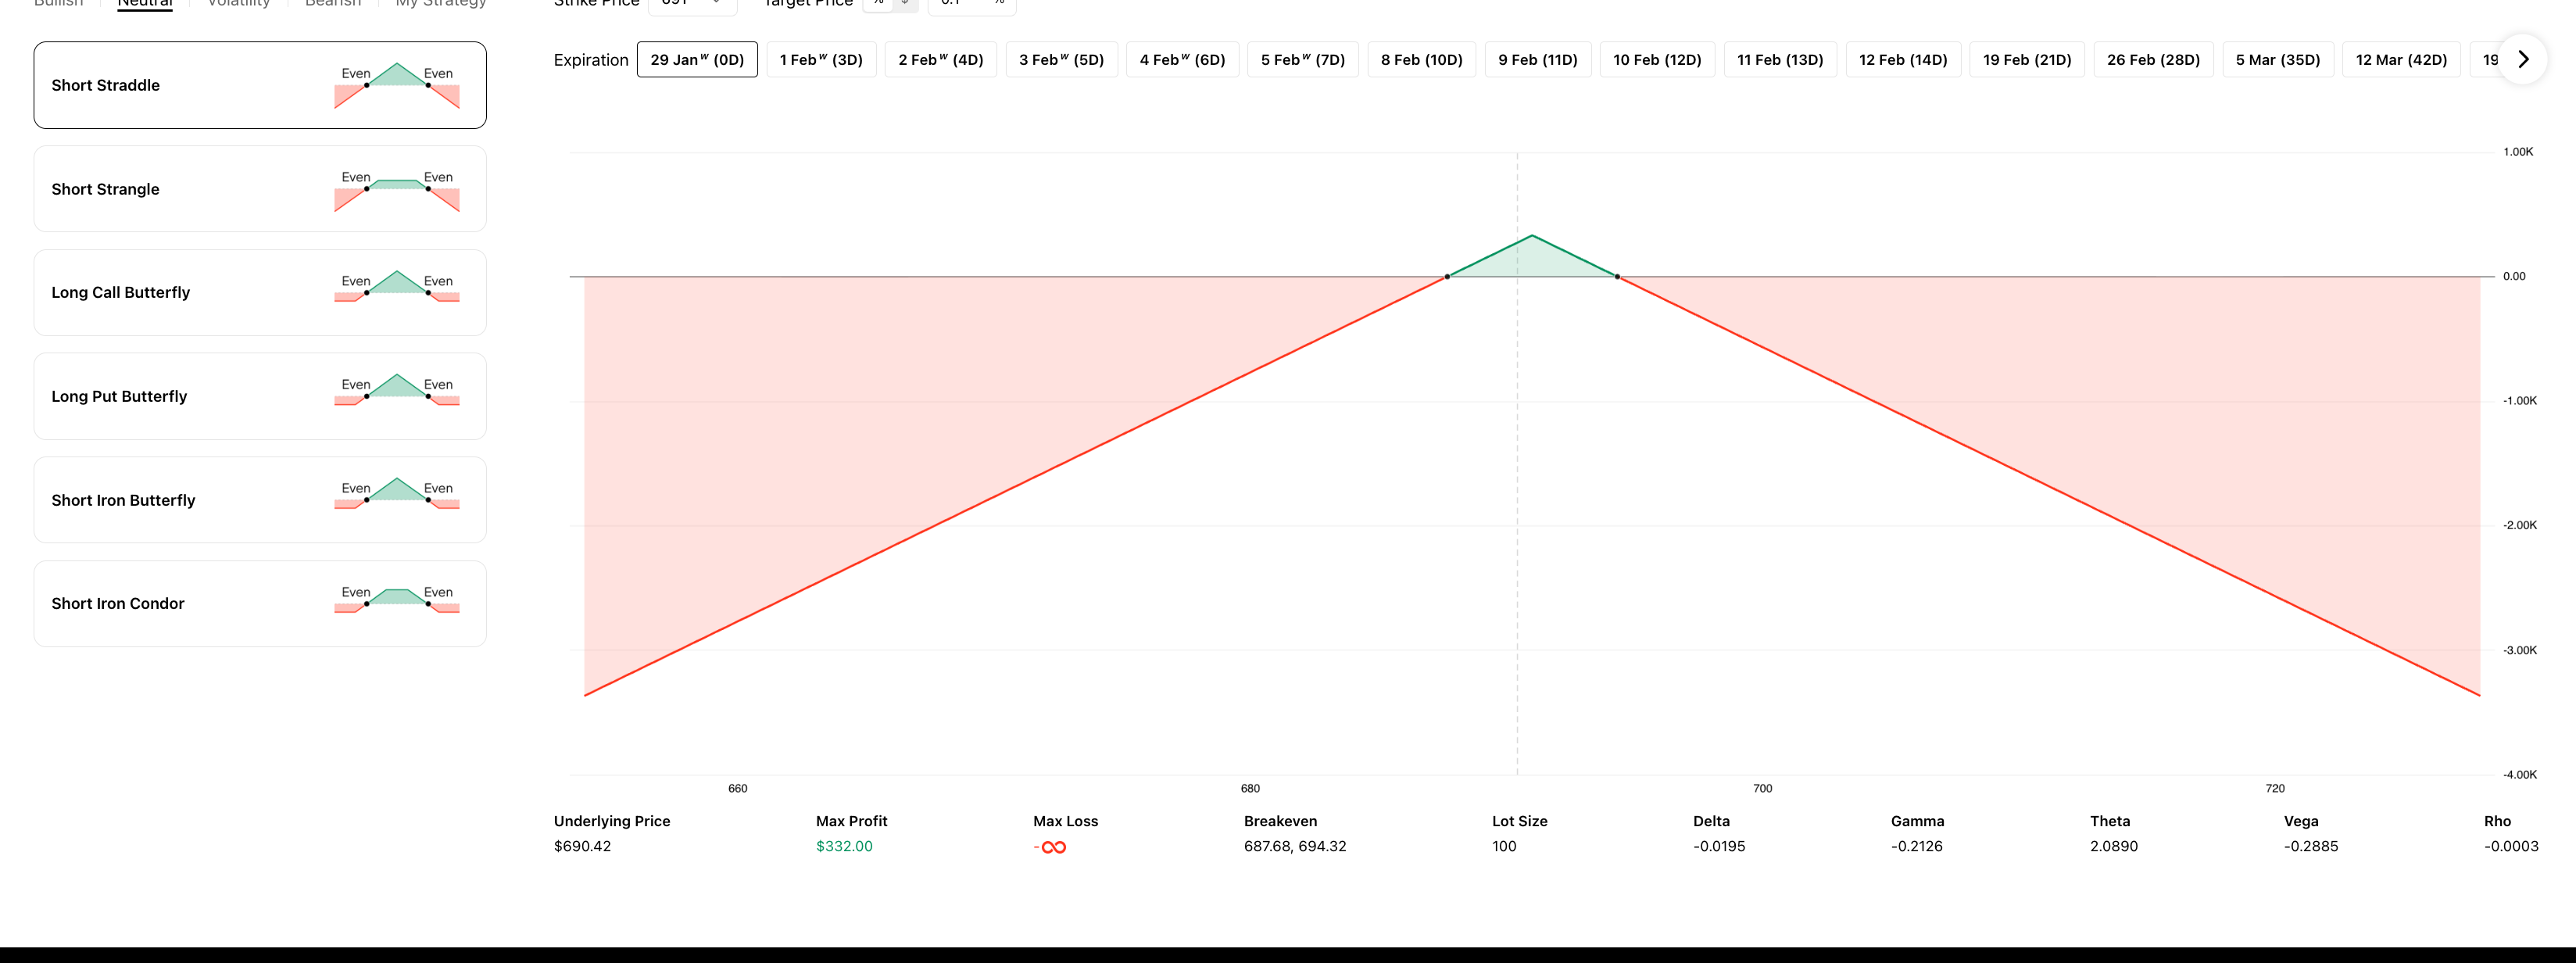
1. Short Straddle
Definition
A Short Straddle involves selling a call and a put at the same strike price with the same expiration date. You collect two premiums upfront and profit if the underlying price stays near the strike.
When to Use
Use a Short Straddle when you are confident the underlying will remain very close to the current price through expiration. This strategy collects the maximum amount of premium but carries substantial risk.
Risk and Reward
- Max Profit: The combined premium received from selling both the call and the put. Maximum profit occurs if the underlying closes exactly at the strike price at expiration.
- Max Loss: Unlimited. If the stock makes a large move in either direction, losses are uncapped.
- Breakeven: Two breakeven points -- the strike price plus the total premium (upper) and the strike price minus the total premium (lower).
P&L Diagram
The Strategy Builder shows an inverted "V" shape (a peak at the strike price). The green profit zone is a narrow band centered on the strike. Red loss zones extend in both directions without limit.
Important Warning
This is a very high-risk strategy. A single large price move -- such as an earnings surprise or market event -- can produce losses that far exceed the premium collected.
Gamma risk: As expiration approaches, gamma accelerates on both sides of the strike. Even a relatively small price move near the strike can rapidly produce large losses because delta shifts quickly against you. Be prepared to manage or close this position well before expiration if the underlying approaches either breakeven point. Most experienced traders close short straddles at 50-75% of maximum profit rather than holding to expiration.
2. Short Strangle
Definition
A Short Strangle involves selling an out-of-the-money (OTM) call and an OTM put at different strike prices with the same expiration date.
When to Use
Use a Short Strangle when you expect the underlying to stay within a wider range than a straddle would require. The trade-off is that you collect less premium than a Short Straddle.
Risk and Reward
- Max Profit: The combined premium received. Maximum profit occurs if the underlying closes between the two short strikes at expiration.
- Max Loss: Unlimited in both directions.
- Breakeven: Two breakeven points -- the call strike plus the total premium (upper) and the put strike minus the total premium (lower).
P&L Diagram
The diagram shows a flat-topped profit zone between the two short strikes, with the P&L line sloping downward on both sides into red loss zones that extend without limit.
3. Long Call Butterfly
Definition
A Long Call Butterfly uses three strike prices with call options: buy one call at a lower strike, sell two calls at a middle strike, and buy one call at a higher strike. All options share the same expiration date.
When to Use
Use a Long Call Butterfly when you expect the underlying to stay near the middle strike price at expiration. This is a low-cost, defined-risk neutral strategy.
Risk and Reward
- Max Profit: Achieved if the underlying closes exactly at the middle strike. The profit equals the difference between the lower and middle strikes minus the net premium paid.
- Max Loss: Limited to the net premium paid. This loss occurs if the underlying closes below the lower strike or above the higher strike.
- Breakeven: Two points -- the lower strike plus the net premium (lower breakeven) and the higher strike minus the net premium (upper breakeven).
P&L Diagram
The Strategy Builder displays a "tent" or mountain shape. The peak of the tent sits at the middle strike in the green profit zone. The sides slope down to flat red loss zones on both edges. This shape clearly shows the sweet spot where maximum profit is achieved.
4. Long Put Butterfly
Definition
A Long Put Butterfly follows the same logic as the Long Call Butterfly but uses put options: buy one put at a higher strike, sell two puts at a middle strike, and buy one put at a lower strike.
When to Use
Use a Long Put Butterfly under the same conditions as a Long Call Butterfly -- when you expect the underlying to stay near the middle strike. The theoretical P&L profile is nearly identical to the call butterfly at expiration.
Risk and Reward
- Max Profit: Achieved at the middle strike. Equals the difference between the higher and middle strikes minus the net premium paid.
- Max Loss: Limited to the net premium paid.
- Breakeven: Two points, calculated symmetrically around the middle strike.
P&L Diagram
The diagram is virtually identical to the Long Call Butterfly -- a tent shape with peak profit at the middle strike and capped losses on both sides.
5. Short Iron Butterfly
Definition
A Short Iron Butterfly combines a Short Straddle (sell an ATM call and an ATM put) with protective OTM wings (buy an OTM call above and an OTM put below). This creates a defined-risk version of the Short Straddle.
When to Use
Use a Short Iron Butterfly when you want the premium-collecting benefits of a Short Straddle but need to cap your maximum loss. The protective wings limit downside at the cost of reducing the premium collected.
Risk and Reward
- Max Profit: The net premium received. Achieved if the underlying closes at the short strike at expiration.
- Max Loss: The distance between the short strike and either long strike minus the net premium received. Loss is defined and capped.
- Breakeven: Two points -- the short strike plus the net premium (upper) and the short strike minus the net premium (lower).
P&L Diagram
The shape resembles a tent similar to the Long Call Butterfly but inverted in construction logic. The peak profit sits at the center with green shading, and the red loss zones on both sides are flat (capped) rather than extending to infinity.
6. Short Iron Condor
Definition
A Short Iron Condor involves selling an OTM put spread and selling an OTM call spread simultaneously. Specifically: sell an OTM put, buy a further OTM put, sell an OTM call, and buy a further OTM call.
When to Use
Use a Short Iron Condor when you expect the underlying to remain within a range but want a wider profit zone than an Iron Butterfly provides. This is one of the most popular neutral strategies among retail traders because it offers defined risk and a clear probability framework.
Risk and Reward
- Max Profit: The net premium received. Achieved if the underlying closes between the two short strikes at expiration.
- Max Loss: The width of either spread minus the net premium received. Loss is capped.
- Breakeven: Two points -- the short put strike minus the net premium (lower) and the short call strike plus the net premium (upper).
P&L Diagram
The Strategy Builder shows a flat-topped shape with green shading across the middle range and flat red loss zones on both sides. The flat top distinguishes the condor from the peaked butterfly. The wider the distance between the two short strikes, the higher the probability of profit but the lower the premium collected.

Choosing the Right Neutral Strategy
| Strategy | Max Loss | Profit Zone Width | Premium Collected | Complexity |
|---|---|---|---|---|
| Short Straddle | Unlimited | Narrow | Highest | Low |
| Short Strangle | Unlimited | Moderate | High | Low |
| Long Call Butterfly | Defined | Narrow | Net debit | Moderate |
| Long Put Butterfly | Defined | Narrow | Net debit | Moderate |
| Short Iron Butterfly | Defined | Narrow | Moderate | Moderate |
| Short Iron Condor | Defined | Wide | Lower | Moderate |
If you are new to neutral strategies, consider starting with the Short Iron Condor or a butterfly spread. These defined-risk structures let you participate in range-bound markets without the unlimited loss exposure of naked straddles and strangles.
Try it on Ainvest: Open the Strategy Builder to model neutral strategies with live data.